

WordPress is a popular content management system, but its widespread use makes it a frequent target for cyberattacks. To safeguard your website, employing a robust security plugin like Wordfence is essential. Wordfence Security offers comprehensive protection by combining endpoint firewall and malware scanner capabilities. This step-by-step guide will walk you through the process of configuring Wordfence Security in WordPress to ensure your website remains secure.
Step-by-Step Guide to Configuring Wordfence Security in WordPress
Step 1: Install and Activate Wordfence Security
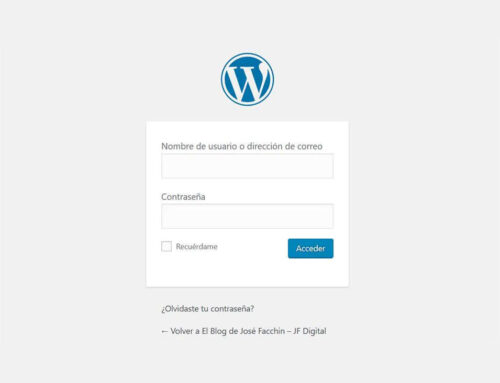
To get started, log into your WordPress dashboard and navigate to the “Plugins” section. Click on “Add New” and enter “Wordfence Security” in the search bar. Once you locate the plugin, click “Install Now” and then “Activate.” This will add Wordfence to your list of active plugins, and you will see a new “Wordfence” menu item in your WordPress dashboard.
Step 2: Initial Setup and Configuration
Upon activation, Wordfence will prompt you to complete an initial setup wizard. This wizard will guide you through basic configurations such as entering your email address for alerts and agreeing to the terms of service. It’s important to provide a valid email address to receive critical security notifications. After completing the initial setup, you will be directed to the Wordfence dashboard, where you can access various security features.
Step 3: Configuring the Firewall
The Wordfence firewall is a crucial component for protecting your website from malicious traffic. Navigate to the “Firewall” tab within the Wordfence dashboard. Here, you can enable the firewall and set it to “Learning Mode” for a week or so to allow it to adapt to your site’s traffic patterns. After this period, switch the firewall to “Enabled and Protecting” mode to fully activate its protective capabilities.
Step 4: Running a Security Scan
Wordfence’s malware scanner can identify and remove security threats. To run a scan, go to the “Scan” tab and click “Start New Scan.” The scan will check for malware, vulnerabilities, and other security issues. Once the scan is complete, review the results and take the recommended actions to resolve any detected issues. Regular scans are essential for maintaining site security.
Step 5: Configuring Login Security
To further enhance your website’s security, configure the login security settings. Navigate to the “Login Security” tab, where you can enable features such as Two-Factor Authentication (2FA) and CAPTCHA for login pages. These measures add an extra layer of security, making it more difficult for unauthorized users to gain access to your website.
Step 6: Setting Up Alerts and Notifications
Wordfence allows you to configure alerts and notifications to keep you informed about security events. Go to the “All Options” tab and scroll down to the “Email Alert Preferences” section. Here, you can customize the types of alerts you wish to receive, such as login attempts, firewall blocks, and scan results. Setting up these alerts ensures you are promptly informed of any security issues.
Step 7: Regular Maintenance and Updates
Maintaining your Wordfence configuration is crucial for ongoing security. Regularly update the Wordfence plugin to benefit from the latest security features and patches. Additionally, periodically review your security settings and scan results to ensure your website remains protected against new and evolving threats.
Configuring Wordfence Security in WordPress is an essential step in safeguarding your website from potential threats. By following this step-by-step guide, you can establish a robust security framework that protects your site from malicious activities. Regular maintenance and updates will ensure your security measures remain effective, providing peace of mind and allowing you to focus on growing your online presence.


Leave A Comment