
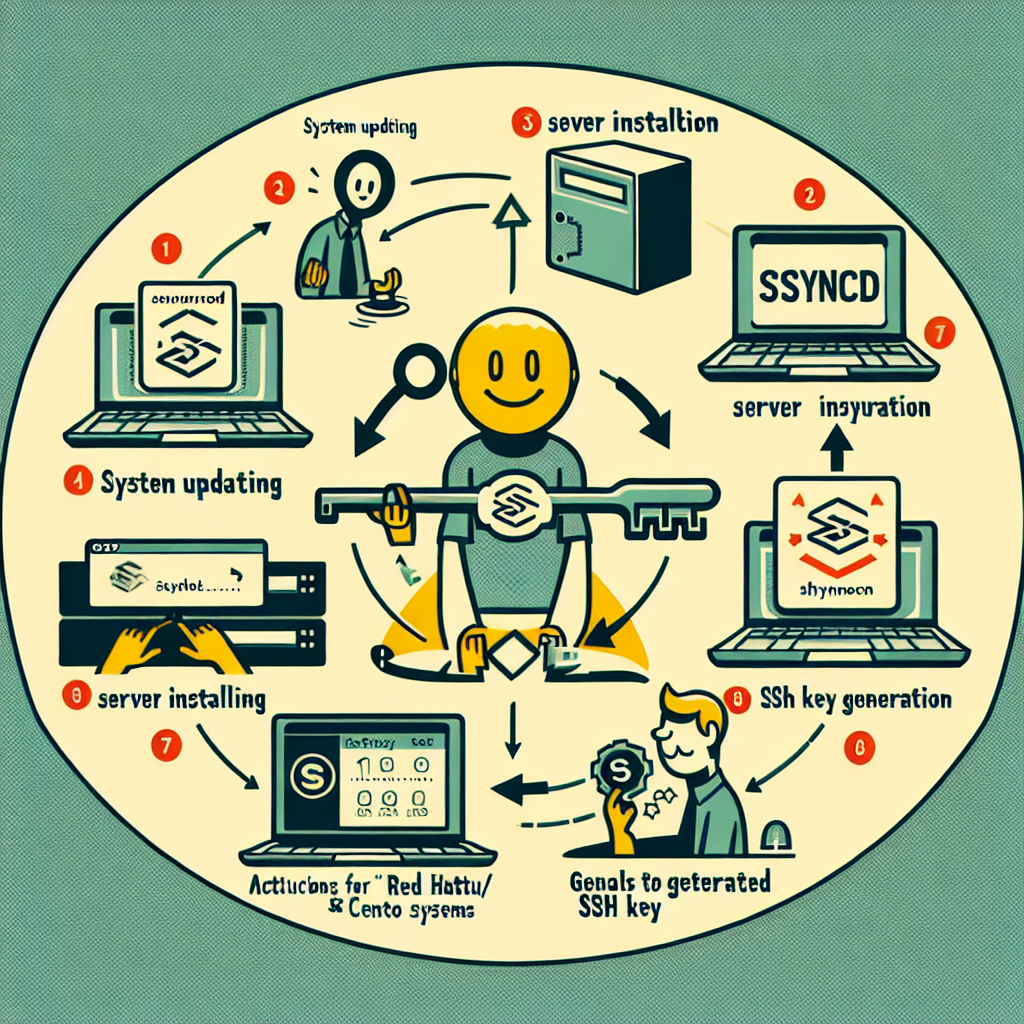
1. Install Lsyncd
First, install Lsyncd on the main server where you want to set up synchronization.
For Debian/Ubuntu-based systems:
sudo apt-get update

sudo apt-get install lsyncd
For Red Hat/CentOS-based systems:
sudo yum install epel-release

sudo yum install lsyncd
2. Generate SSH Public Key
Generate an SSH key pair (public and private keys) on the main server (Server A).
ssh-keygen -t rsa -b 4096
Follow the prompts and save the keys in the default directory (~/.ssh/id_rsa for the private key and ~/.ssh/id_rsa.pub for the public key).
3. Copy the Public Key to the Remote Server
Copy the generated public key to the destination server (Server B) using the following command:
ssh-copy-id user@remote_server
This command will add the public key to the ~/.ssh/authorized_keys file on the remote server, allowing passwordless authentication.
4. Verify SSH Passwordless Connection
Verify that you can connect to the remote server without needing to enter a password:
ssh user@remote_server
If the connection succeeds without asking for a password, the public key setup is working correctly.
5. Configure the Lsyncd File
Edit or create the Lsyncd configuration file, usually located at /etc/lsyncd/lsyncd.conf.lua.
Configuration example:
settings {
logfile = “/var/log/lsyncd/lsyncd.log”,
statusFile = “/var/log/lsyncd/lsyncd-status.log”,
nodaemon = false,
}
sync {
default.rsyncssh,
source = “/ruta/a/sincronizar/”,
host = “usuario@servidor_remoto”,
targetdir = “/ruta/remota/destino/”,
rsyncOpts = {“-avz”},
ssh = {
port = 22,
identityFile = “/home/tu_usuario/.ssh/id_rsa”
}
}
6. Start Lsyncd
Start Lsyncd to begin synchronization:
sudo lsyncd /etc/lsyncd/lsyncd.conf.lua
To ensure Lsyncd starts automatically when the server boots, you can enable it as a system service.
7. Monitoring and Logs
Check Lsyncd logs to monitor its activity and ensure synchronization is occurring correctly:
tail -f /var/log/lsyncd/lsyncd.log


Leave A Comment